10 Backyard Movie Screen DIY Ideas
Creating a backyard movie screen is one of the most rewarding DIY projects for anyone who enjoys outdoor entertainment. It transforms an ordinary backyard into a comfortable space for family movie nights, weekend gatherings, birthdays, or seasonal celebrations without requiring a permanent installation. Many Pinterest ideas focus on affordable, creative solutions that combine practical construction with attractive outdoor styling. Whether you have a large lawn or a compact patio, there are many beginner-friendly ways to build a functional screen using common materials and simple tools. This guide explores ten creative ideas that balance durability, appearance, and ease of construction. You will also learn how to prepare your workspace, choose suitable materials, avoid common mistakes, organize your viewing area, and plan the project within your available budget while achieving an aesthetic outdoor entertainment space.
Why This DIY Project Is Trending
Outdoor movie spaces continue to gain popularity because they combine entertainment, home decor, and creative DIY projects in one enjoyable activity. Pinterest inspiration frequently highlights backyard movie setups because they encourage families and friends to spend more time outdoors while making use of existing garden space. Many of these projects are beginner friendly and require only basic woodworking or assembly skills. They can also be customized to match different landscaping styles, from minimalist design to rustic decoration. Another reason these creative ideas remain popular is their flexibility. Temporary screens can be assembled for special occasions and stored afterward, while permanent structures become attractive backyard features throughout the year. With thoughtful planning and simple materials, almost anyone can build an outdoor movie screen that looks polished without requiring professional construction.
Materials and Preparation
Proper preparation makes every DIY tutorial easier to complete and helps produce a stable movie screen that performs well during outdoor use. Start by measuring the available viewing area and selecting a location with minimal direct light after sunset. Gather materials such as PVC pipes, wooden boards, outdoor fabric, white blackout cloth, screws, brackets, rope, zip ties, sandpaper, paint, measuring tape, a drill, and a level. If you plan to build a permanent structure, consider weather-resistant finishes that help protect the frame. Before construction begins, clear the workspace and remove obstacles that could interfere with assembly. Careful planning also includes determining projector distance, seating arrangement, and power access. Preparing these details in advance creates a smoother building process and contributes to a more enjoyable outdoor viewing experience.
Idea 1: Classic PVC Pipe Backyard Screen
How to Create
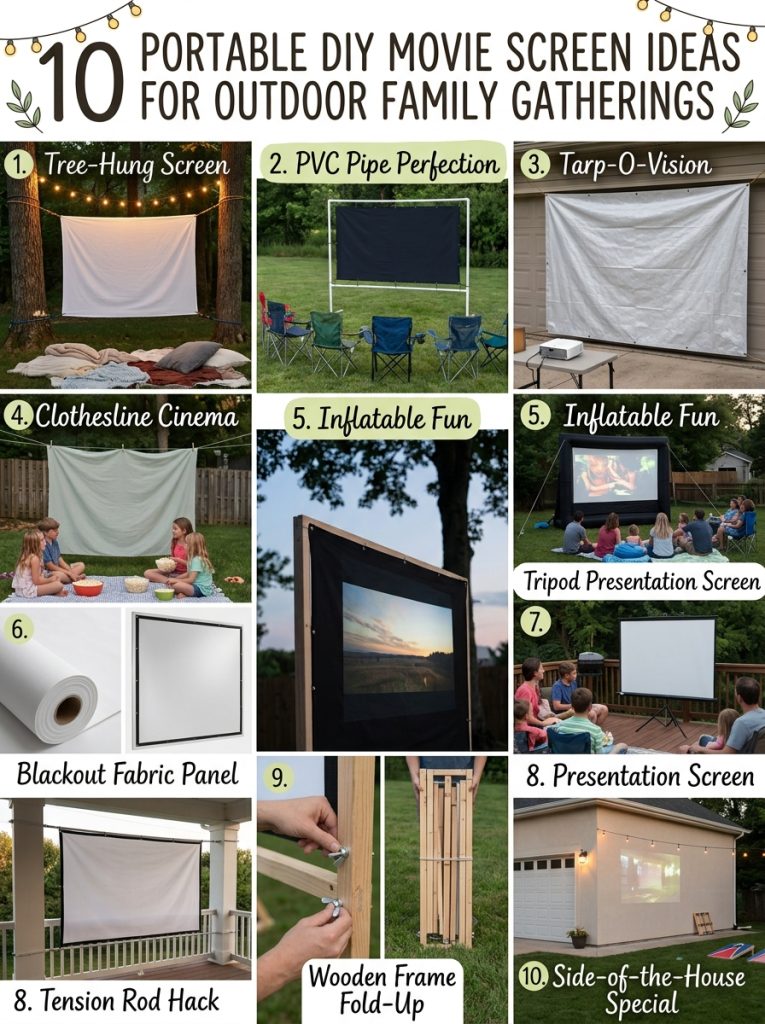
A PVC pipe frame offers one of the easiest and most affordable backyard movie screen solutions for beginners. Measure the desired screen dimensions before cutting PVC sections to length using a pipe cutter. Assemble the frame with corner connectors and center supports to improve stability. Stretch a white blackout fabric tightly across the frame and secure it using clips, zip ties, or elastic cords to reduce wrinkles. Reinforce the bottom corners with weighted sandbags or ground stakes if the screen will remain outdoors during light wind. This design works well because it is lightweight, portable, and easy to disassemble for storage. Painting the PVC frame with outdoor paint creates a cleaner appearance while helping it blend into surrounding home decor. The finished screen provides a smooth projection surface that delivers consistent image quality during backyard movie nights.
Idea 2: Wooden Frame Cinema Screen
Step-by-Step Guide
A wooden frame creates a more permanent backyard movie screen with excellent stability and a professional appearance. Begin by cutting treated lumber into equal lengths according to your planned screen size. Assemble a rectangular frame using screws and corner braces, then add horizontal support pieces across the center to minimize movement. Sand rough edges before applying weather-resistant paint or stain. Stretch projector screen fabric evenly across the frame and staple it securely to the back. Trim away excess material for a neat finish. Mount the completed frame on wooden posts or secure it directly to an existing fence. This approach combines practical construction with modern design while creating a durable entertainment feature that complements many landscaping styles. The sturdy frame also keeps the projection surface flat for improved picture clarity.
Idea 3: Hanging Canvas Screen Between Trees
Setup Method
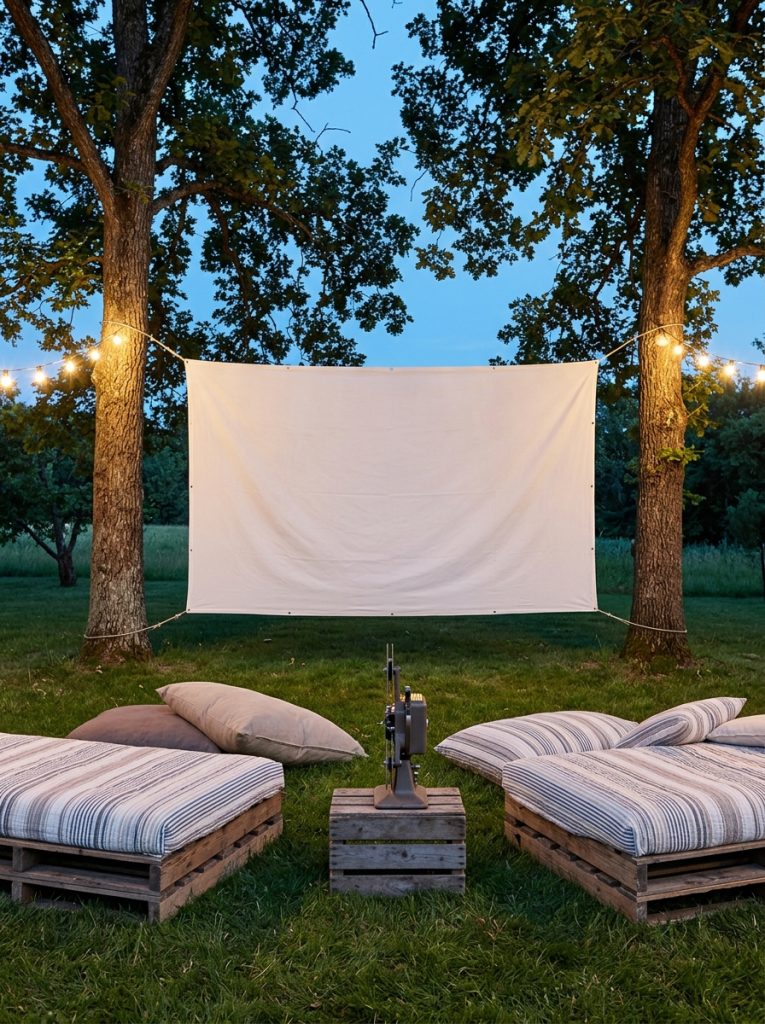
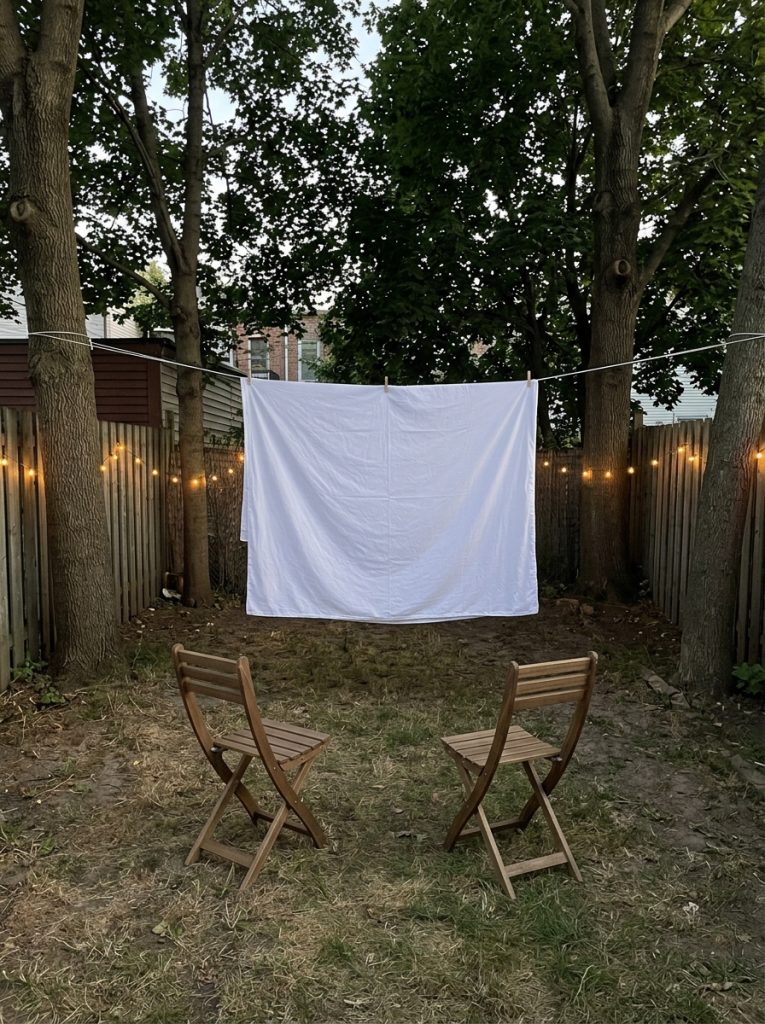
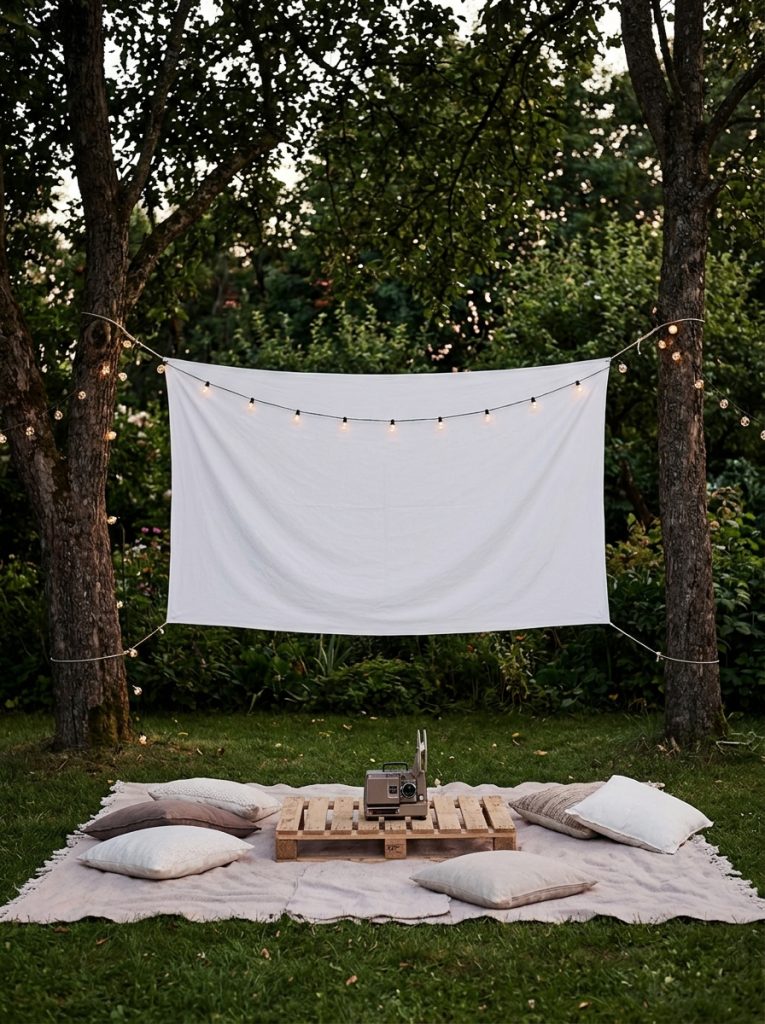
Natural surroundings can become part of the overall viewing experience by suspending a canvas movie screen between two healthy trees. Select trees with sufficient spacing and strong trunks capable of supporting the screen without causing damage. Attach adjustable rope straps around each tree instead of nails or screws to protect the bark. Hang a heavy white canvas or blackout cloth using reinforced grommets positioned along the top edge. Pull the lower corners outward with additional ropes connected to ground stakes to maintain tension across the fabric. This flexible installation requires very few materials while preserving the surrounding landscape. It also allows quick removal after movie night. Decorative lanterns, outdoor rugs, and comfortable seating can complete the aesthetic presentation without distracting from the viewing area.
Idea 4: Fence-Mounted Projection Screen
How to Make
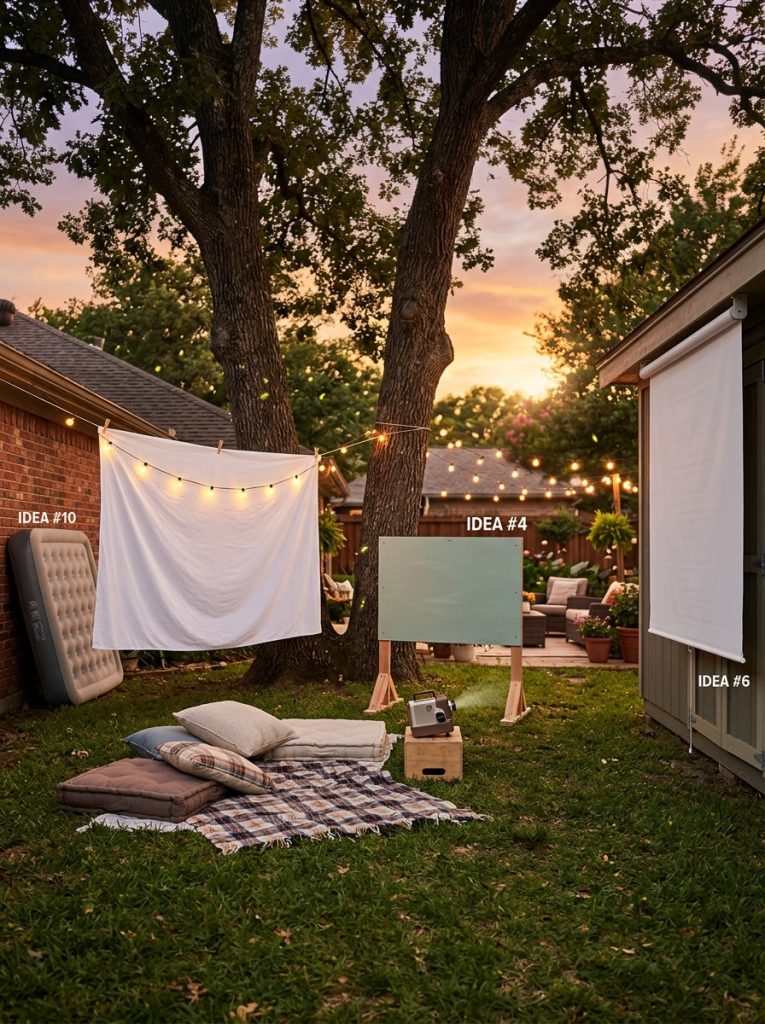
An existing backyard fence provides an excellent foundation for a practical DIY movie screen. Begin by inspecting the fence to ensure it is stable and free from loose boards. Install wooden battens or lightweight support strips if additional reinforcement is necessary. Attach a smooth white projection fabric across the selected section using screws with washers or durable clips that distribute tension evenly. Keep the fabric stretched firmly to eliminate sagging that could distort projected images. Painting the surrounding fence in darker tones may reduce reflected light and improve viewing contrast. Because the fence already serves as structural support, this project requires fewer construction materials and can often be completed in a single afternoon. It also minimizes storage requirements since the screen becomes a permanent part of the backyard organization.

Idea 5: Folding Wooden Screen Panels
Execution Process
Folding wooden panels create a portable backyard movie screen that can be moved and stored with ease. Construct three lightweight wooden frames of equal size using narrow lumber and connect them with heavy-duty hinges. Cover the center frame with white projector fabric while leaving the side panels available for decorative trim or additional support. The hinged design allows the screen to stand independently without requiring wall attachment. Add locking braces on the back to prevent accidental movement during use. When movie night ends, simply fold the structure flat for convenient storage inside a garage or shed. This creative project is especially useful for homeowners who want flexibility without installing permanent structures. It also allows seasonal decoration by changing the appearance of the outer panels.
Idea 6: Retractable Rope and Fabric Screen
How to Create
A retractable movie screen provides a practical solution for smaller outdoor spaces where permanent installations are not desirable. Install sturdy hooks or brackets beneath a patio roof, pergola, or wall overhang. Attach a reinforced projection fabric with a lightweight support rod along the bottom edge to help maintain tension. Strong ropes or pulleys allow the screen to be lowered during movie nights and raised afterward for protection from weather exposure. This system keeps the backyard organized while reducing wear caused by sunlight and moisture. Simple hardware and careful measurements are the primary materials needed for construction. Because the screen remains elevated when not in use, the entertainment area quickly returns to its normal function without requiring complete disassembly after each event.

Idea 7: Pergola Movie Screen Design
Setup Method
A pergola offers an attractive structural framework for an outdoor movie screen while contributing to the overall home decor. Measure the interior opening carefully before preparing a fabric panel that fits within the available space. Install eye hooks or sliding curtain hardware along the pergola beams to suspend the screen securely. The screen can remain hidden behind decorative outdoor curtains when not in use, creating a clean and organized appearance. Incorporating string lighting around the pergola enhances the atmosphere without interfering with the projection area when positioned correctly. Comfortable seating, weather-resistant cushions, and small side tables complete the viewing environment. This project blends functional entertainment with aesthetic outdoor design, making it suitable for both casual movie nights and larger backyard gatherings.
Idea 8: Drop Cloth Projection Screen
How to Make
An inexpensive painter’s drop cloth can become an effective projection surface when prepared properly. Wash and iron the fabric before installation to remove wrinkles that may affect image quality. Stretch the cloth across a lightweight wooden frame or secure it tightly between vertical support poles using clamps and elastic cords. Applying consistent tension along every edge produces a flatter surface for improved projection. If desired, sew reinforced hems around the perimeter to increase durability during repeated use. This budget-friendly approach makes an excellent beginner friendly project because the required materials are widely available and easy to work with. Decorative outdoor seating, blankets, and simple lighting complete the setup while maintaining the relaxed atmosphere associated with backyard cinema experiences.

Idea 9: Freestanding Metal Frame Screen
Step-by-Step Guide
Metal conduit pipes provide a strong alternative to wooden or PVC frames while remaining relatively lightweight. Cut conduit sections according to your screen dimensions and assemble the frame using compatible connectors designed for outdoor structures. Attach white projector fabric with heavy-duty clips that distribute pressure evenly around the edges. Stabilize the frame using angled support legs positioned behind the screen and secure them with ground anchors if necessary. The metal construction resists warping and offers long-term durability in changing weather conditions. Painting exposed metal with protective outdoor coating further extends the lifespan of the structure. This design is suitable for larger backyard movie screens where additional strength is required to support wider projection surfaces without noticeable movement.

Idea 10: Decorative Garden Screen with Planter Supports
Execution Process
Combine entertainment with landscaping by integrating the movie screen into decorative planter boxes that also function as structural supports. Build two large wooden planter boxes and reinforce them internally to accommodate upright support posts. Fill the planters with soil, flowers, or ornamental grasses to add visual interest while increasing stability through additional weight. Suspend a framed projector screen between the support posts using brackets that allow seasonal removal if necessary. This arrangement creates an attractive focal point even when movies are not being shown. The surrounding plants soften the appearance of the structure while helping it blend naturally into the backyard. It is an ideal creative project for homeowners seeking functional decoration alongside practical outdoor entertainment.

Common Beginner Mistakes and How to Avoid Them
Many first-time builders overlook important preparation details that affect screen performance. One common mistake is selecting thin fabric that allows light to pass through, reducing image brightness. Choosing heavier white projection material usually produces better results. Another issue involves insufficient frame support, which may cause sagging or movement during windy conditions. Accurate measurements and additional cross braces help maintain a flat viewing surface. Poor projector placement can also distort the picture, so careful planning of projection distance is essential before construction begins. Ignoring surrounding lighting often reduces image quality, making it helpful to position the screen away from nearby lights. Finally, failing to weather-protect wooden components may shorten the structure’s lifespan, so applying suitable outdoor finishes remains an important final step.
Practical Tips for Better Results
Careful planning contributes significantly to a successful backyard movie screen project. Measure all materials twice before cutting to reduce waste and improve assembly accuracy. Test projector placement before permanently installing the screen so adjustments can be made easily. Maintain even fabric tension across every edge to eliminate wrinkles that interfere with picture quality. Store removable screens in dry indoor locations when they are not being used to extend material life. Arrange seating with clear viewing angles and sufficient walking space between rows for comfortable movement. Outdoor extension cords should remain organized and protected from moisture throughout the event. Regularly inspect fasteners, ropes, and support structures before each movie night to ensure continued stability and safe operation throughout repeated use.
Styling and Organization Ideas
A thoughtfully organized viewing area enhances the overall backyard cinema experience while complementing the movie screen itself. Arrange outdoor seating in gentle rows that provide clear visibility from every position. Layer weather-resistant rugs beneath chairs and blankets to define the entertainment zone visually. Soft lighting placed behind seating areas creates a welcoming atmosphere without reducing screen brightness. Decorative lanterns, simple planter boxes, and coordinated cushions contribute to an aesthetic setting that aligns with popular Pinterest ideas. Small folding tables offer convenient locations for drinks and snacks while keeping walking paths clear. Storage baskets help organize blankets and accessories before and after events, making cleanup faster and preserving the appearance of the backyard between movie nights.
Budget and Time Planning
Planning both cost and construction time helps keep a backyard movie screen project manageable. Portable PVC and fabric screens generally require fewer materials and can often be completed within a single day. Wooden or metal structures may involve additional cutting, painting, and drying time before installation is complete. Preparing a written materials list reduces unnecessary purchases and helps prevent project delays. Reusing existing lumber, fabric, or hardware can further reduce overall expenses without compromising quality. Dividing larger projects into smaller stages also simplifies construction by allowing each section to be completed carefully. Establishing a realistic timeline encourages accurate planning while making the DIY process more enjoyable and organized from beginning to end.
Creative Expansion and Advanced Inspiration
Once the basic backyard movie screen is complete, additional creative ideas can further improve the entertainment space. Consider building matching snack stations, beverage tables, or decorative storage benches that coordinate with the screen design. Landscape lighting installed along walkways improves safety while adding visual appeal before and after the movie. Weather-resistant curtains can provide privacy while enhancing the overall aesthetic. Building a raised viewing platform or incorporating built-in seating creates a more permanent outdoor entertainment area. Seasonal decoration, including autumn pumpkins, spring flowers, or summer string lights, allows the space to remain visually interesting throughout the year. Expanding the project gradually keeps construction manageable while continuously improving both functionality and overall backyard presentation.





Post Comment