10 DIY Tool Organizer Wall Ideas
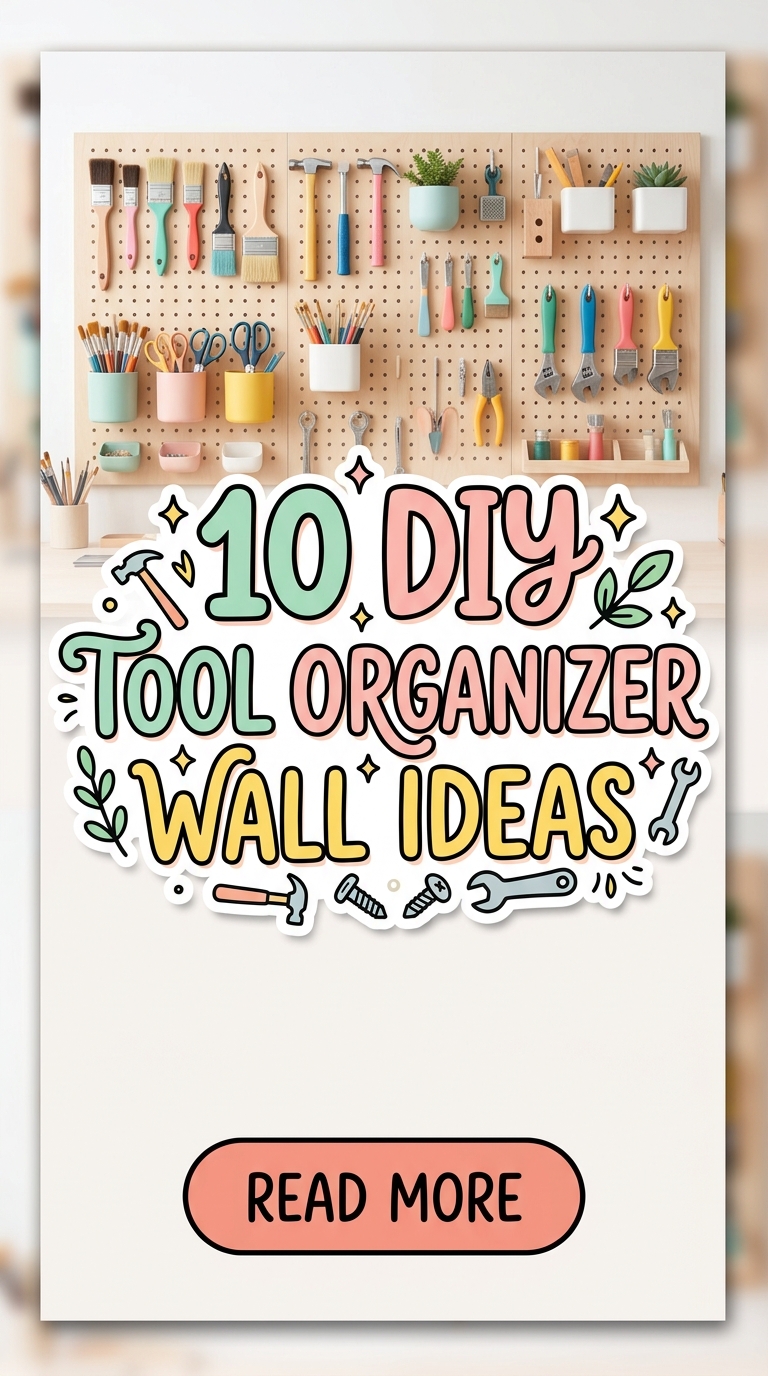
A well-organized tool wall makes every workshop, garage, shed, or craft room more efficient by keeping essential tools visible, protected, and easy to access. Instead of searching through drawers or storage boxes, a thoughtfully designed DIY tool organizer wall creates designated spaces for each item while maximizing available wall space. Whether you own a small collection of hand tools or a complete workshop, handmade storage solutions can improve organization without requiring expensive cabinets or commercial systems. This Pinterest-style guide introduces ten beginner-friendly DIY tool organizer wall ideas that combine practical storage with clean, modern design. Each project includes simple instructions, preparation tips, and organization methods that are easy to follow. You will also learn how to prepare materials, avoid common mistakes, manage your budget, and create a workshop that remains organized for everyday projects.
Why DIY Tool Organizer Walls Are Trending
DIY tool organizer walls continue to be among the most popular Pinterest ideas because they solve a common storage problem while making workspaces safer and more productive. Organized tools reduce clutter, save time, and help prevent misplaced equipment during projects. Many people prefer building custom organizers because they can be designed around their specific tools rather than adapting to fixed commercial storage systems. Most DIY tutorials require only basic woodworking or assembly skills, making them suitable for beginners as well as experienced hobbyists. Tool walls also improve workshop appearance by creating clean visual organization that supports efficient work habits. Their flexibility, affordability, and practical value explain why handmade tool organization projects remain highly popular among homeowners, DIY enthusiasts, and garage workshop creators.
Materials and Preparation
Proper preparation ensures every tool organizer wall is secure, durable, and easy to maintain. Gather plywood, pegboard, wooden boards, screws, wall anchors, drill, screwdriver, measuring tape, ruler, pencil, sandpaper, paint or wood stain, shelf brackets, hooks, magnetic strips, PVC pipe sections, baskets, storage bins, labels, glue gun, and protective safety equipment. Measure the available wall space before selecting an organizer layout. Sort tools into categories such as screwdrivers, wrenches, pliers, hammers, measuring tools, power tool accessories, and gardening equipment. Plan storage locations according to frequency of use, keeping everyday tools at comfortable working height. Organize materials before beginning construction and confirm all measurements before cutting wood or mounting hardware. Careful planning produces cleaner results and a more efficient workspace.
Pegboard Tool Wall
How to Create
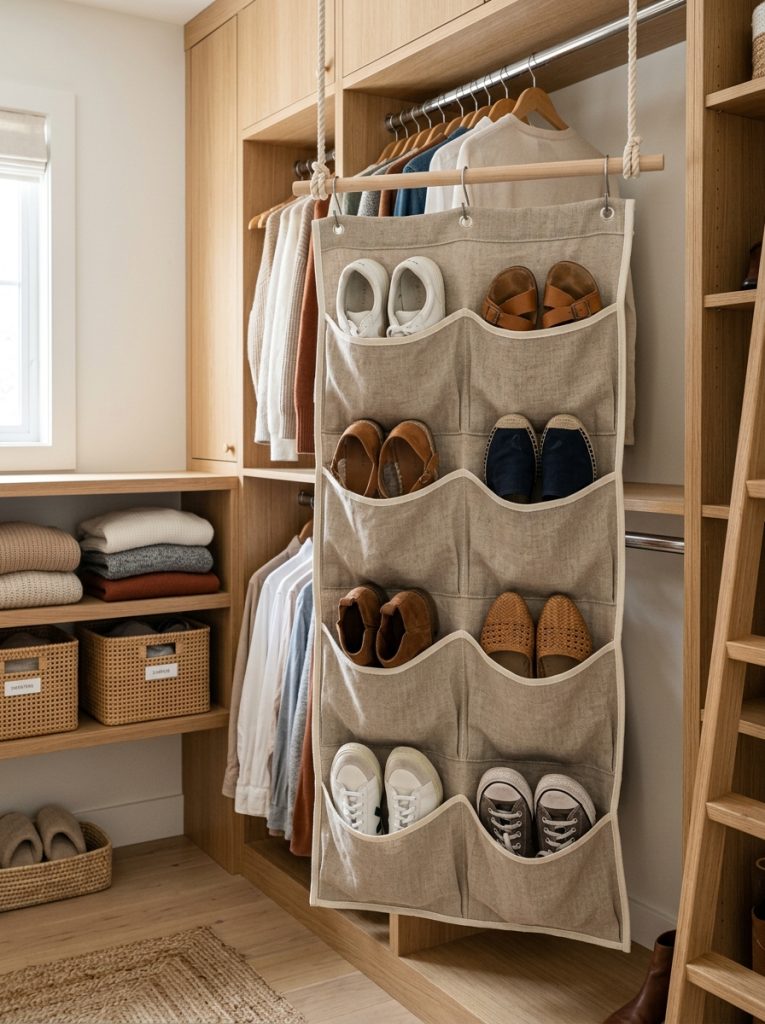
Install a full pegboard wall to create a flexible tool storage system that adapts as your collection changes. Mount wooden support strips behind the pegboard to provide space for hook installation before securing the panel firmly to wall studs. Arrange metal hooks according to the size and shape of each tool while leaving enough spacing to remove items easily. Group similar tools together, placing screwdrivers, pliers, and wrenches in separate sections for faster identification. Add printed labels beneath frequently used tools to maintain organization over time. Paint the pegboard in a neutral color if desired to coordinate with the workshop. This beginner-friendly project creates a clean, efficient storage system that can be modified whenever new tools are added.

Magnetic Hand Tool Rack
Step-by-Step Guide
Build a magnetic organizer that keeps metal hand tools visible and easily accessible. Mount heavy-duty magnetic strips securely onto a wooden backing board before attaching the board to wall studs. Position screwdrivers, pliers, scissors, utility knives, and small wrenches directly onto the magnets while spacing them evenly to avoid overcrowding. Combine several magnetic strips vertically or horizontally depending on available space. Decorative wood stain or paint helps the organizer blend with surrounding workshop furniture while maintaining durability. This easy project improves organization by eliminating drawer clutter and ensuring frequently used tools remain within immediate reach during every creative project.

Wooden French Cleat Wall
How to Make
Create a modular French cleat wall that supports interchangeable storage accessories. Cut long wooden strips with matching 45-degree angles before mounting one section securely to the wall. Build removable holders, shelves, baskets, and tool racks with matching cleats attached to the back. Slide each organizer into position along the wall and rearrange them whenever storage needs change. Organize heavy tools near the lower sections while placing lighter equipment above for better balance. This versatile storage method provides exceptional flexibility while creating a professional workshop appearance. The system can expand gradually as additional organizers are built over time.
PVC Pipe Tool Holder
Setup Method
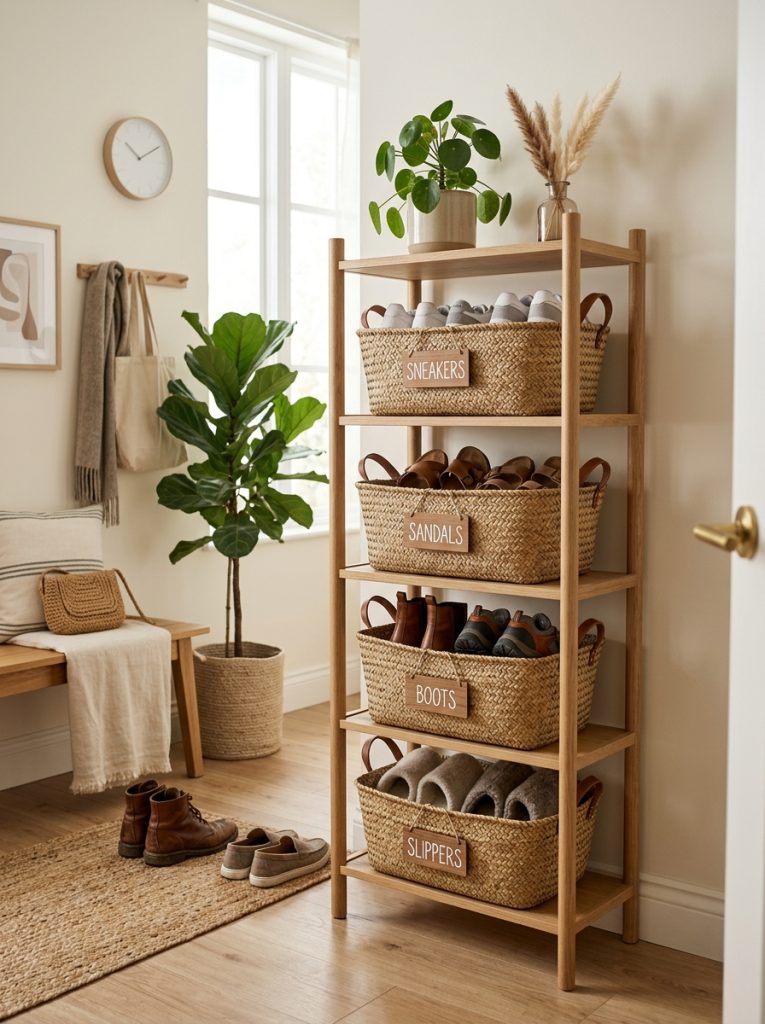
Repurpose PVC pipe sections into durable wall-mounted holders for long-handled tools and hand tools. Cut pipe sections into different lengths according to the size of the equipment being stored. Sand rough edges before attaching the pieces horizontally or vertically onto a wooden board using screws or heavy-duty clamps. Mount the completed organizer securely to the workshop wall where drills, screwdrivers, pliers, or gardening tools can be inserted vertically into individual compartments. Paint the PVC if desired to match the overall workshop color scheme. This practical project uses inexpensive materials while creating sturdy storage that keeps tools organized and easily accessible.
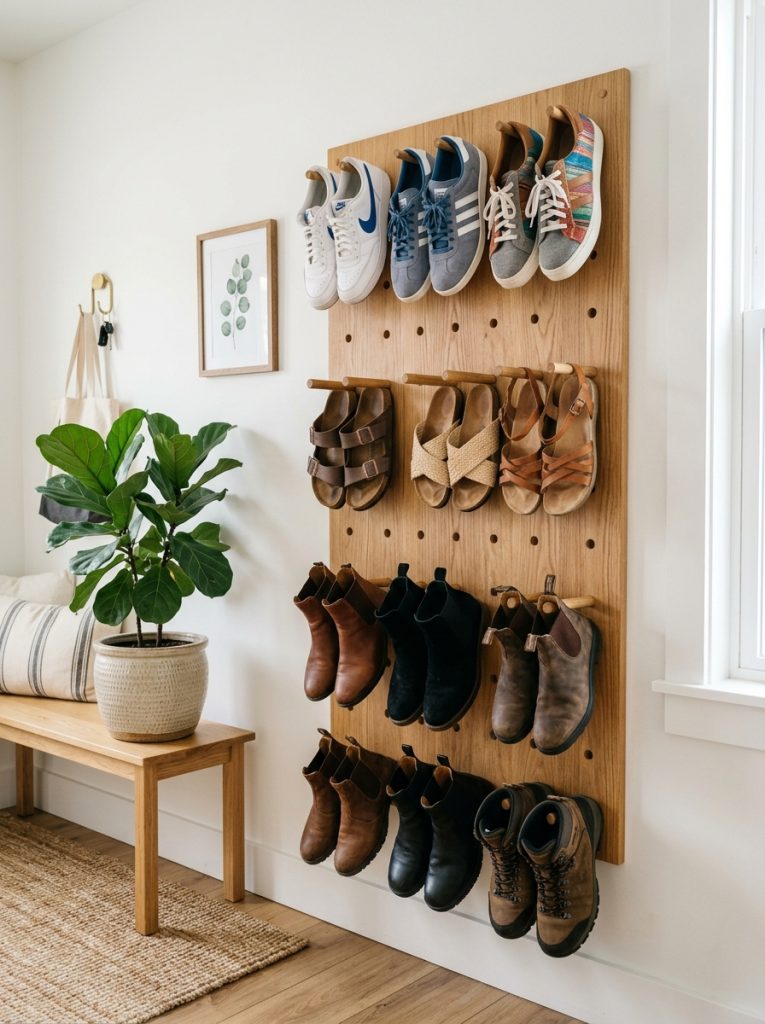
Floating Shelf Tool Station
Execution Process
Install floating shelves designed specifically for tool storage while maintaining an uncluttered workspace. Measure carefully before cutting sturdy wooden shelves and attaching hidden support brackets into wall studs. Arrange storage bins, power tool cases, batteries, measuring equipment, and hardware containers across the shelves according to frequency of use. Leave open sections for larger tools while using labeled baskets to organize smaller supplies. Coordinating storage containers create a cleaner appearance while making inventory easier to manage. This beginner-friendly project improves organization by combining open storage with attractive workshop design suitable for garages and hobby spaces.
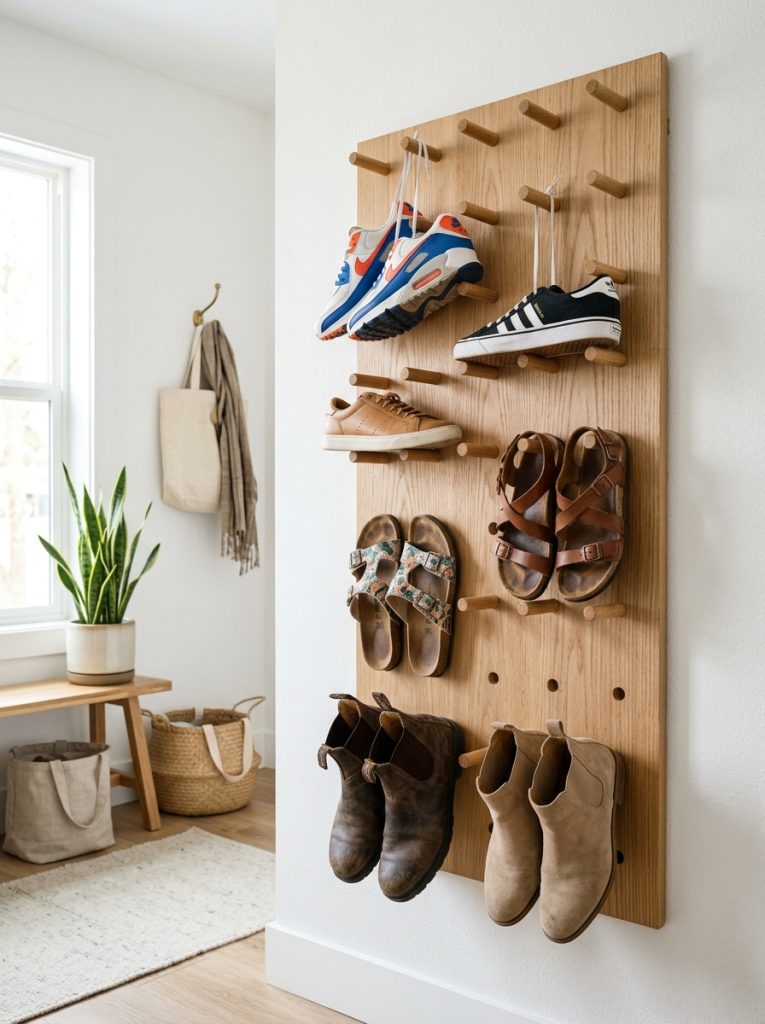
Shadow Board Organizer
How to Create
Build a shadow board that outlines every tool’s position for consistent organization. Mount a painted plywood panel securely to the wall before arranging tools across its surface in logical groups. Trace each tool using contrasting paint or permanent marker before installing hooks or holders that match the outline locations. Return every tool to its designated position after each project to maintain order. This method simplifies inventory by making missing tools immediately noticeable. Organized layouts also improve efficiency during repair work because frequently used equipment remains visible and easy to locate.
Fold-Down Tool Cabinet
Step-by-Step Guide
Construct a wall-mounted cabinet with fold-down doors that provide both enclosed storage and additional work surfaces. Build a shallow wooden cabinet using plywood before installing strong hinges that support fold-out front panels. Add hooks, shelves, magnetic strips, and small containers inside the cabinet for organized storage. Use the lowered door as a temporary workspace during projects before folding it closed afterward. This creative project protects tools from dust while maximizing storage inside compact workshops. Matching paint or wood stain creates a professional appearance that blends with surrounding cabinetry.
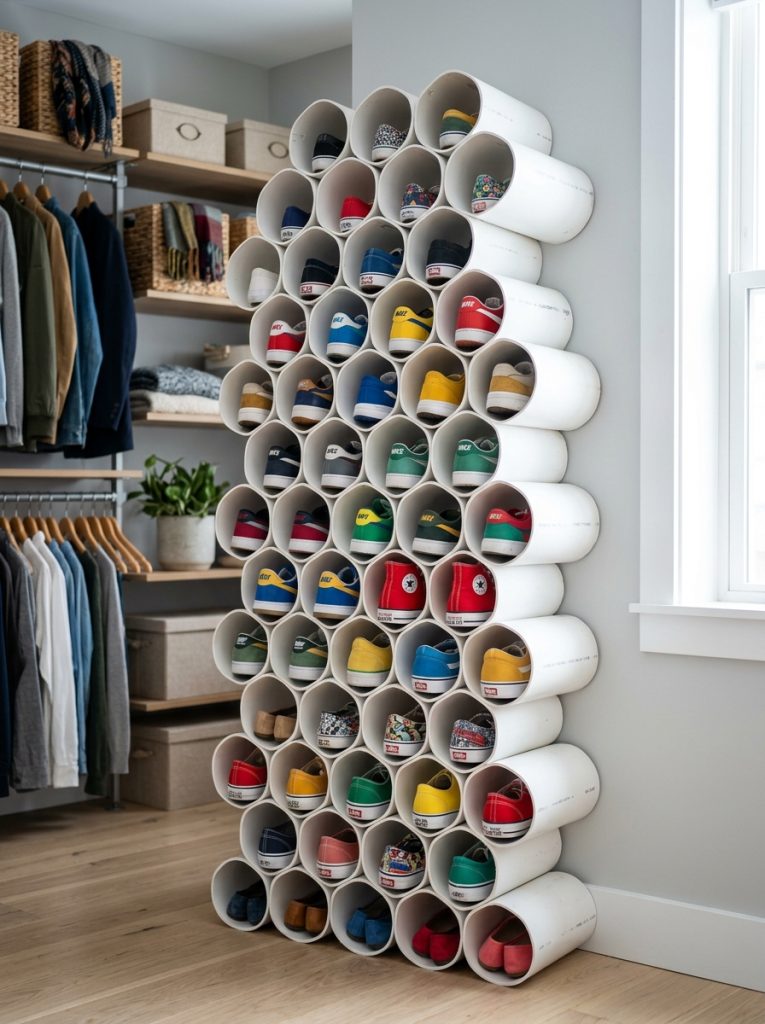
Labeled Bin Storage Wall
How to Make
Install rows of wall-mounted bins designed to organize screws, nails, bolts, washers, drill bits, and other small hardware. Secure sturdy rails or shelving to the wall before attaching matching plastic or metal storage bins. Clearly label every container according to its contents using waterproof printed labels. Arrange bins by category and size to simplify inventory management while reducing time spent searching for hardware. Transparent containers improve visibility without opening each bin. This project creates an efficient organization system that complements larger tool storage solutions while maintaining a clean workshop environment.
Wooden Slat Tool Display
Execution Process
Create a decorative slat wall using evenly spaced wooden boards mounted vertically across a workshop wall. Install hooks, brackets, baskets, and specialized holders between the slats according to tool size and function. Arrange equipment symmetrically while keeping frequently used tools at comfortable working height. Paint or stain the wood to coordinate with the workshop’s overall design. The flexible mounting system allows accessories to be moved whenever storage requirements change. This project combines attractive woodworking with practical organization while making efficient use of available wall space.

Corner Tool Organizer Wall
How to Create
Maximize unused workshop corners by building a custom corner storage wall with angled shelving and hanging tool holders. Measure the corner carefully before cutting triangular shelves that fit securely between both walls. Install hooks beneath the shelves for hammers, tape measures, safety glasses, and extension cords while placing storage baskets on the upper levels. Keep heavier equipment near the bottom for improved stability and easier access. Coordinated labels and matching storage containers create a polished appearance that enhances overall workshop organization. This beginner-friendly project transforms overlooked spaces into valuable storage areas.
Common Beginner Mistakes and How to Avoid Them
One common mistake is mounting organizers without locating wall studs, reducing stability when heavier tools are added. Always secure larger storage systems into structural supports whenever possible. Another frequent issue is arranging tools randomly instead of grouping similar items together. Organizing by category improves efficiency and makes maintenance easier. Beginners should also avoid placing frequently used tools too high or too low, creating unnecessary strain during daily work. Leave enough spacing between hooks to remove tools comfortably without disturbing nearby equipment. Careful planning consistently results in safer and more practical workshop organization.
Practical Tips for Better Results
Review your tool collection before building the organizer so storage capacity matches actual needs. Use labels consistently across shelves, bins, and hooks to maintain long-term organization. Reserve extra wall space for future tool purchases rather than filling every available area immediately. Keep cleaning supplies nearby to remove dust regularly and maintain a tidy workspace. Photograph completed layouts before making changes so successful arrangements can be recreated later. Small organizational habits contribute significantly to maintaining an efficient tool wall.
Styling, Presentation, and Organization Ideas
Although workshops prioritize function, thoughtful presentation creates a cleaner and more enjoyable working environment. Coordinate storage bins, shelving, and tool holders using consistent colors and materials. Arrange tools symmetrically whenever possible while leaving open wall sections that prevent the organizer from appearing overcrowded. Wooden finishes combined with black metal hooks create a timeless workshop aesthetic suitable for modern design. Bright task lighting further improves visibility while highlighting organized storage areas. A balanced layout encourages continued organization after every project.
Budget and Time Planning
DIY tool organizer walls can be built gradually without requiring a large investment. Start with pegboards or magnetic racks before expanding into French cleat systems, shelving, or enclosed cabinets. Purchasing plywood, screws, and storage hardware in larger quantities often reduces overall project costs while providing materials for future additions. Divide larger builds into planning, measuring, cutting, assembly, painting, and installation stages to improve accuracy and efficiency. Careful budgeting and organized scheduling produce long-lasting workshop storage without unnecessary expense.
Creative Expansion and Advanced Inspiration
Once these beginner-friendly tool organizer wall ideas are complete, consider expanding the system with charging stations, fold-out workbenches, built-in lighting, locking cabinets, power tool docks, and dedicated hardware drawers. Modular storage allows organizers to evolve alongside growing tool collections while maintaining a clean and efficient workspace. Save measurements, layouts, and successful storage designs for future projects so additions remain visually consistent. Continued planning and experimentation create a workshop that combines practical organization, attractive presentation, and reliable storage suitable for every DIY project.





Post Comment