10 DIY Bicycle Rack Ideas
A well-designed bicycle rack provides a practical way to store bikes while keeping garages, entryways, patios, and outdoor spaces organized. Whether you own one bicycle or several, creating a DIY bicycle rack allows you to customize storage according to your available space, budget, and preferred style. Many Pinterest ideas focus on simple projects that combine functionality with attractive design, making bicycle storage part of the overall home decor instead of an afterthought. This guide presents ten beginner friendly DIY bicycle rack ideas with practical instructions, planning advice, and creative inspiration. Each project uses common materials and straightforward building methods while offering different storage solutions for indoor and outdoor spaces. By following these step by step ideas, you can create an organized, durable, and aesthetically pleasing bicycle storage system that fits your needs.
Why DIY Bicycle Racks Are Trending
DIY bicycle racks continue to appear among trending ideas because they combine organization, practical storage, and creative design. More homeowners are looking for space-saving solutions that keep bicycles secure while reducing clutter in garages, sheds, balconies, and hallways. Pinterest inspiration often highlights handmade storage projects because they allow complete customization without requiring advanced woodworking experience. Beginners appreciate these easy projects since most require only basic tools and affordable materials. DIY racks also support minimalist style by keeping floors clear and improving room organization. Outdoor versions help protect bicycles from accidental damage, while indoor designs transform bikes into decorative features. These projects appeal to people who enjoy creative ideas that improve everyday living through thoughtful planning, functional layouts, and personalized decoration that matches existing home decor.
Materials and Preparation
Before beginning any bicycle rack project, gather all necessary materials and create a simple building plan. Common materials include wooden boards, plywood, construction lumber, metal pipes, PVC pipe, screws, bolts, wood glue, wall anchors, sandpaper, paint, stain, measuring tape, a drill, saw, level, and protective finish for outdoor use. Measure the available storage area carefully while considering bicycle size, wheel width, and handlebar clearance. Decide whether the rack will be wall mounted, freestanding, ceiling mounted, or positioned outdoors. Sketching a basic layout helps reduce mistakes during construction and ensures proper spacing between bicycles. Preparing all materials before starting allows the tutorial to progress smoothly while producing a cleaner and more organized finished project.
Vertical Wall Storage Rack
How to Create
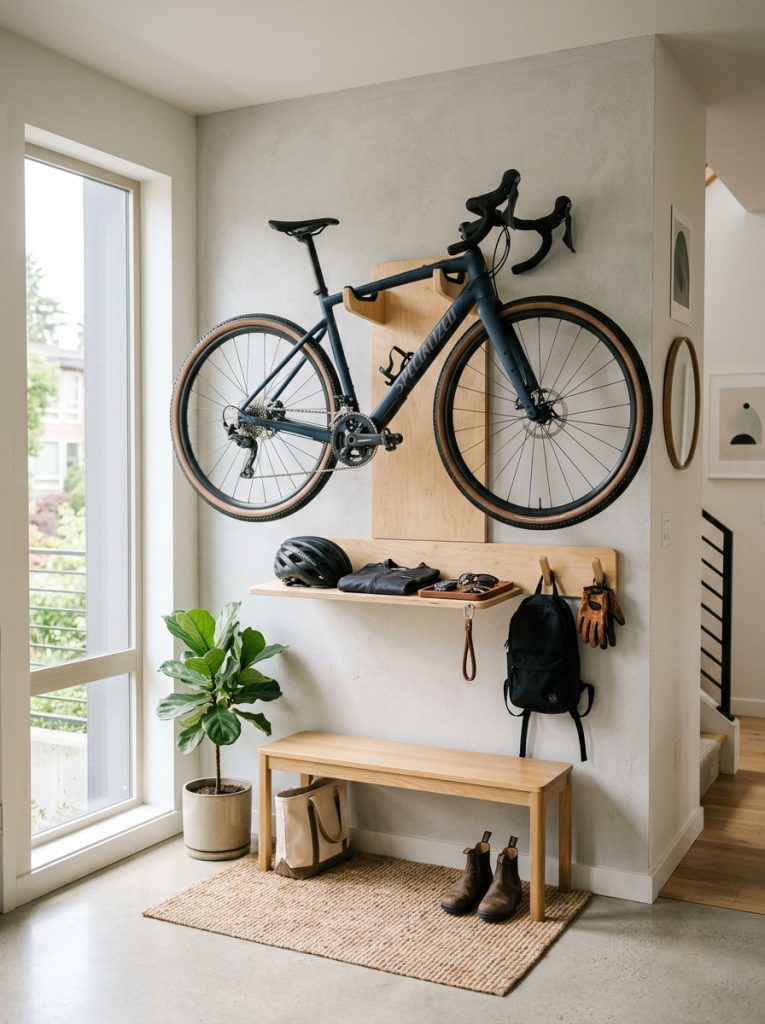
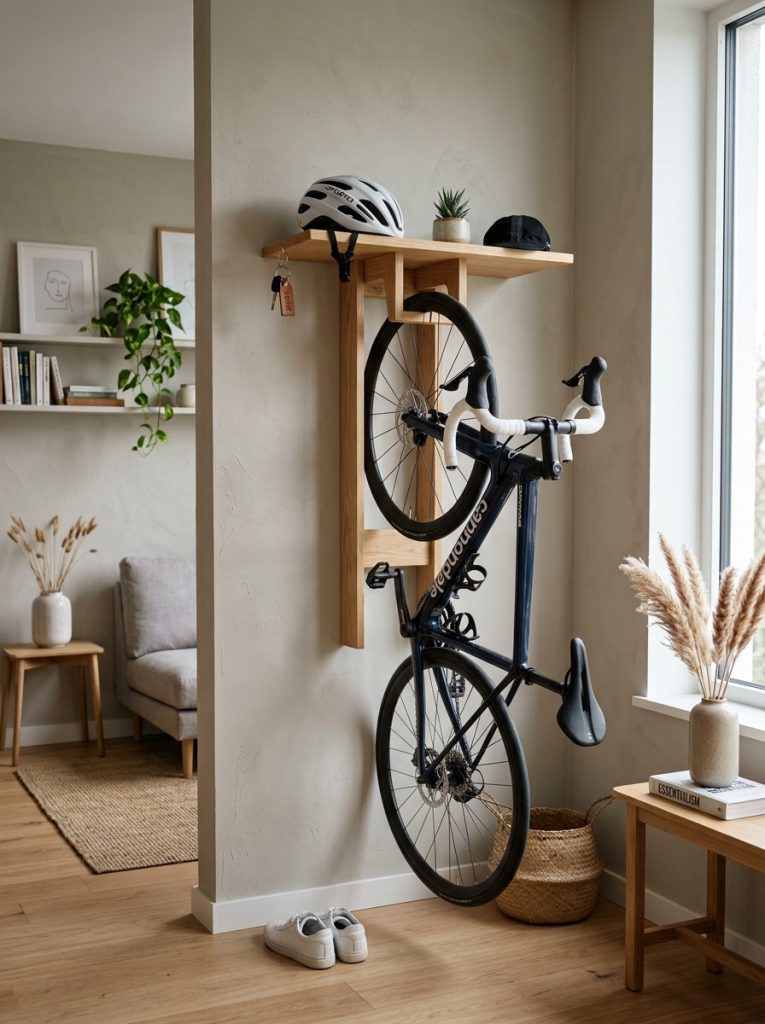
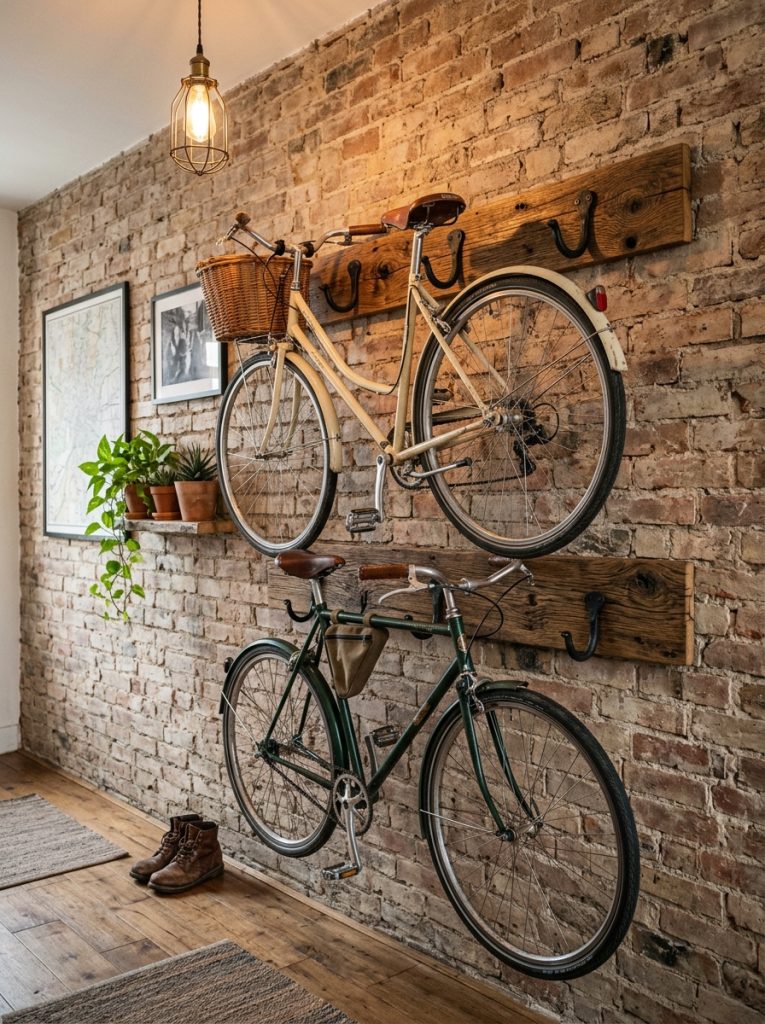
A vertical wall storage rack is an excellent solution for homes with limited floor space. Begin by locating wall studs and marking the desired mounting height based on your bicycle size. Cut sturdy wooden supports and attach heavy-duty hooks or wheel holders designed to support the bike securely. Install horizontal braces between the supports for additional stability. Sand all wooden surfaces before applying paint or stain that complements your home decor. Mount the completed frame securely using lag screws and confirm that every connection remains level before hanging the bicycle. This modern design keeps the bicycle elevated while freeing valuable floor space for organization. The rack also creates a clean aesthetic that works well in garages, entryways, or workshops. With careful planning and accurate measurements, this beginner friendly DIY project provides reliable storage while displaying the bicycle as an attractive decorative feature.
Freestanding Wooden Bicycle Rack
How to Make
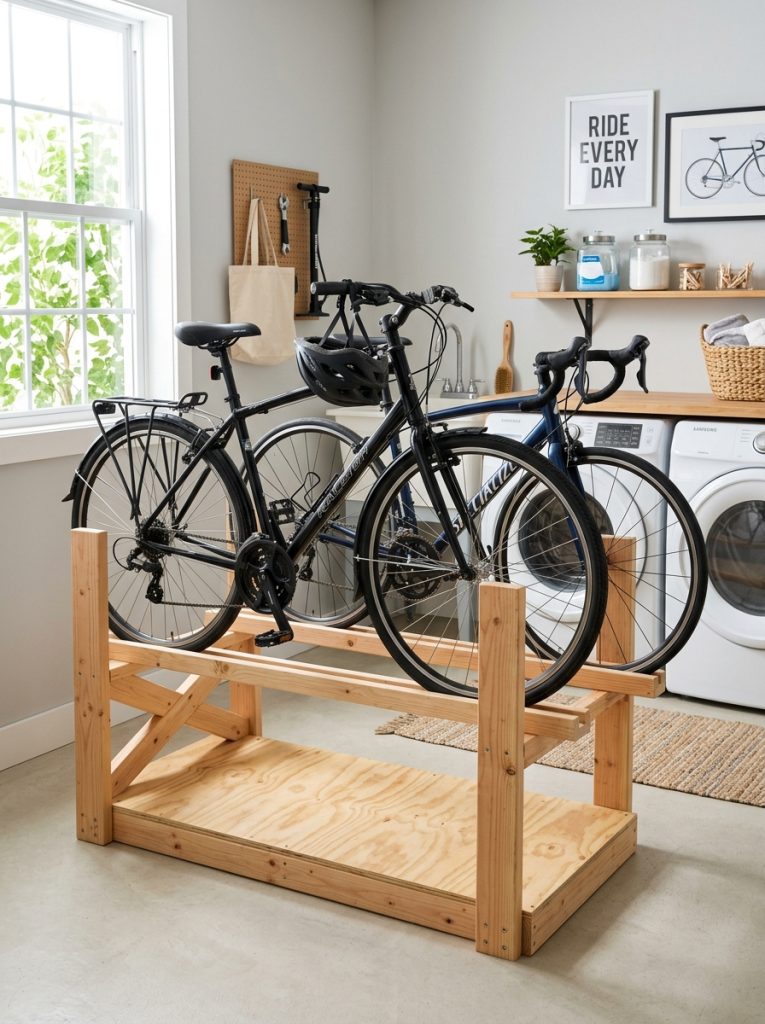
A freestanding wooden bicycle rack offers flexible placement because it does not require wall installation. Construct a sturdy rectangular base using dimensional lumber, then add evenly spaced wheel slots made from vertical wooden dividers. Each slot should accommodate the bicycle tire while maintaining sufficient clearance between handlebars. Reinforce the frame with cross supports to improve stability during everyday use. Smooth every surface using sandpaper before applying weather-resistant finish if the rack will be placed outdoors. Position the completed rack on a flat surface for maximum balance. This easy project works well for families with multiple bicycles because additional slots can be added as needed. The open design simplifies bicycle access while promoting neat organization. Pinterest inspiration frequently features this style because it combines durability, functionality, and attractive handmade craftsmanship without requiring complicated construction methods.
Industrial Pipe Bicycle Stand
Step-by-Step Guide
Metal plumbing pipes provide a durable foundation for an industrial-inspired bicycle rack. Assemble galvanized pipe sections using threaded connectors to create a stable rectangular frame with horizontal support bars. Tighten every fitting carefully to eliminate movement before attaching protective rubber caps to the base. The industrial appearance complements modern design and minimalist style while offering exceptional strength. Place the bicycle within the frame so the wheels remain aligned between the support sections. If desired, install a wooden platform beneath the stand for additional stability and improved decoration. Because pipe components are available in multiple lengths, the rack can be customized to fit different bicycle sizes and available floor space. This DIY tutorial requires only basic assembly skills, making it suitable for beginners seeking practical storage with a distinctive aesthetic that blends functionality and creative design.
PVC Pipe Bicycle Organizer
Setup Method
PVC pipe creates a lightweight and affordable bicycle organizer that works particularly well for children or casual bicycle storage. Measure tire widths before cutting PVC sections to create wheel channels connected by T-joints and elbow fittings. Dry-fit every piece before applying PVC adhesive to ensure proper alignment throughout the structure. Once assembled, allow adequate curing time before testing the rack. The lightweight design makes relocation easy while maintaining dependable organization. Paint the finished rack if a decorative appearance is desired or leave the white finish for a clean minimalist style. This budget friendly project requires only basic cutting and assembly while providing secure storage for multiple bicycles. Many Pinterest ideas feature PVC because it is inexpensive, widely available, and simple to modify as storage needs change over time.
Ceiling Hanging Bicycle Storage
Execution Process
A ceiling-mounted bicycle rack maximizes unused overhead space while keeping floors completely clear. Locate ceiling joists using a stud finder and install heavy-duty mounting brackets or pulley hardware directly into the structural framing. Use durable ropes or straps capable of supporting the bicycle safely. Raise the bicycle slowly while checking that all lifting components remain balanced throughout the process. Leave enough clearance so the bike does not interfere with lighting fixtures, garage doors, or shelving. This creative project is especially useful for seasonal bicycles that are not used daily. Proper planning ensures safe operation while reducing clutter significantly. Ceiling storage represents one of the most efficient organization methods for smaller garages where floor space is limited. Following each installation step carefully results in a secure and attractive storage solution.
Pallet Wood Bicycle Rack
How to Create
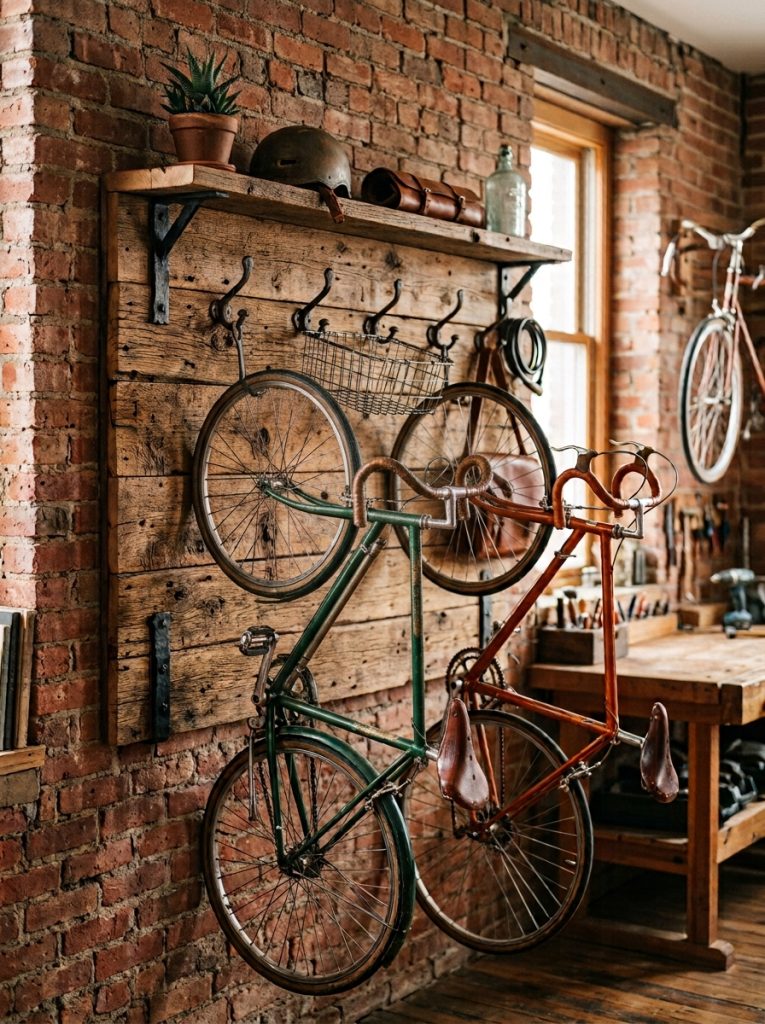
Reclaimed wooden pallets provide an environmentally conscious material for building a rustic bicycle rack. Select pallets in good condition, remove damaged boards, and sand every surface thoroughly to eliminate splinters. Arrange the boards vertically to create tire slots while reinforcing the back with horizontal braces for structural support. Secure all joints using wood screws and wood glue before applying exterior stain or protective finish. The natural wood texture creates an attractive handmade appearance suitable for patios, garages, or garden sheds. Because pallet dimensions vary, customize spacing according to the number of bicycles requiring storage. This easy project combines recycling with practical organization while maintaining a budget friendly approach. Pinterest inspiration frequently showcases pallet furniture because it transforms reclaimed materials into functional home decor with unique character and lasting durability.
Entryway Display Bicycle Rack
How to Make
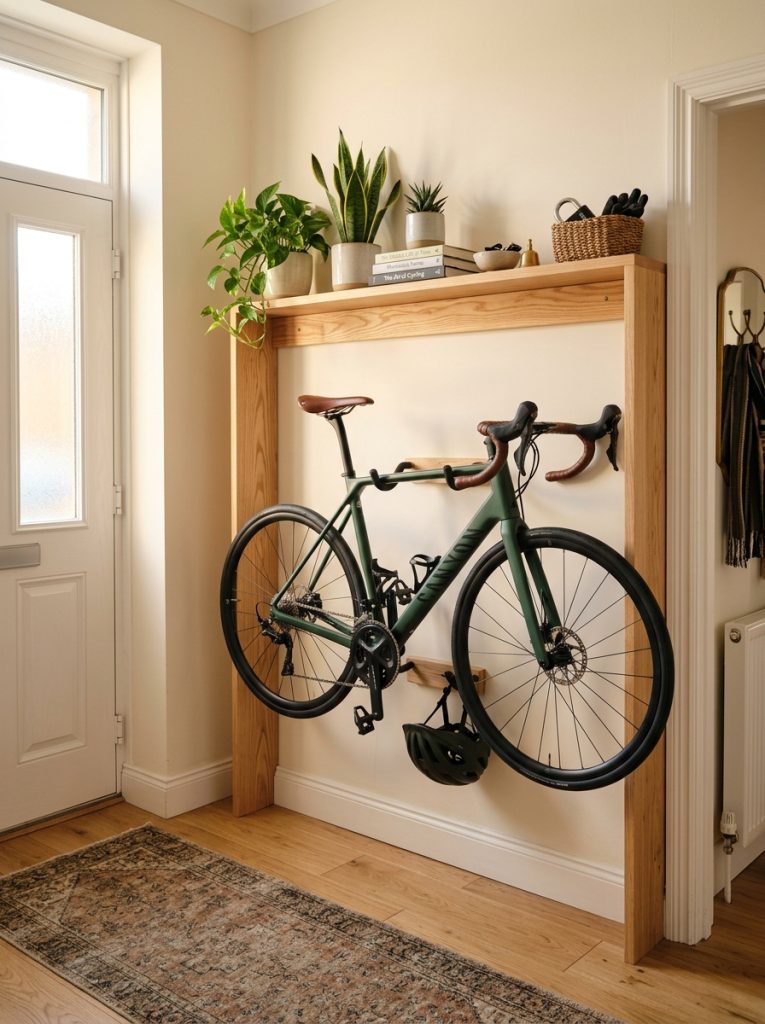
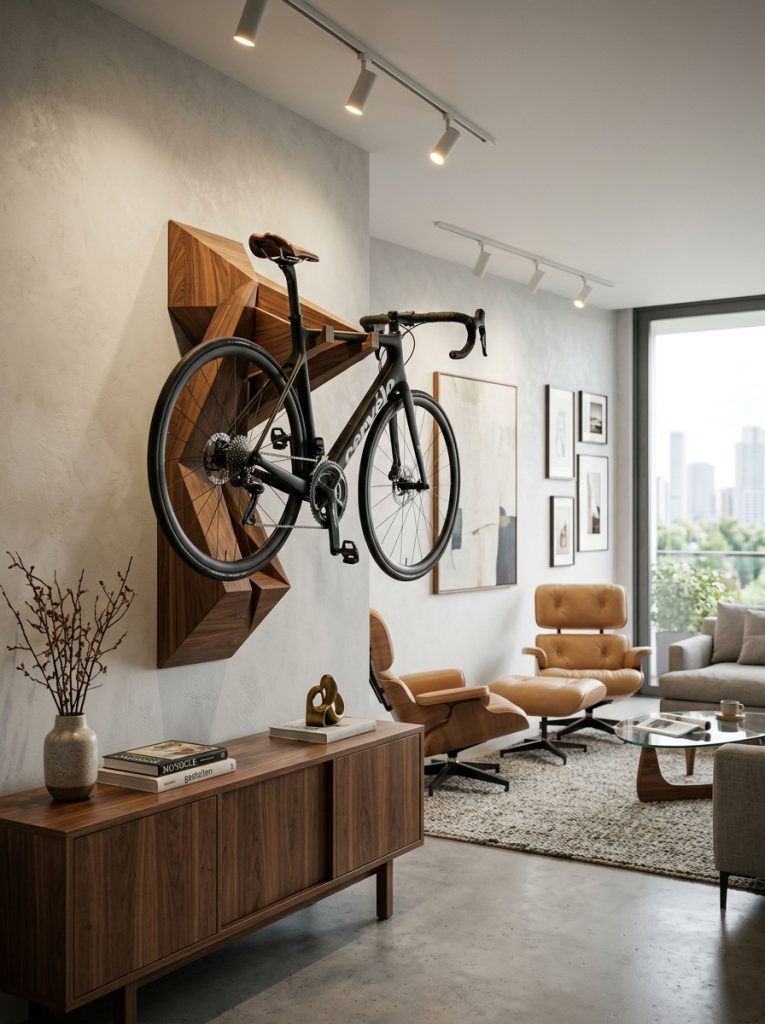
An entryway bicycle rack combines storage with interior decoration by displaying the bicycle as part of the home’s design. Build a strong wall-mounted wooden shelf supported by decorative brackets and integrate padded hooks beneath the shelf to hold the bicycle frame securely. Add small compartments or baskets for helmets, gloves, locks, and accessories to improve organization. Finish the wood with paint or stain that complements nearby furniture and wall colors. Position the rack where the bicycle becomes an intentional design element rather than clutter. This modern design suits apartments and smaller homes where bicycles are used frequently. By combining practical storage with attractive presentation, the rack enhances the room’s aesthetic while maintaining easy access. Careful planning ensures sufficient clearance for comfortable movement throughout the entryway.
Outdoor Covered Bicycle Rack
Step-by-Step Guide
A covered outdoor bicycle rack protects bicycles from rain, sunlight, and debris while providing convenient everyday storage. Construct a pressure-treated wooden frame anchored securely into the ground using concrete footings or heavy base supports. Install evenly spaced wheel channels beneath a sloped roof made from weather-resistant panels. Apply exterior sealant to every wooden component to improve long-term durability. Ensure adequate airflow beneath the roof to reduce moisture buildup around stored bicycles. This DIY project balances protection with accessibility while maintaining an organized outdoor appearance. Decorative trim and coordinated paint colors can integrate the structure into surrounding landscaping or garden decor. With proper materials and careful construction, the rack remains durable throughout changing weather conditions while protecting valuable bicycles from unnecessary wear.
Folding Bicycle Rack
Setup Method
A folding bicycle rack offers flexible storage by allowing the structure to collapse when not in use. Construct a lightweight wooden or metal frame connected with durable hinges positioned at key pivot points. Install locking supports that secure the rack during use while allowing safe folding afterward. Measure carefully to maintain consistent alignment across every moving section. Smooth edges thoroughly to prevent scratches on bicycle frames during storage. The finished rack can be placed against a wall, inside a garage, or transported for temporary events. This beginner friendly project demonstrates efficient planning while maximizing storage flexibility. Pinterest ideas often feature folding furniture because it supports organization without permanently occupying valuable floor space. With accurate construction and quality hardware, the rack remains stable during use and compact during storage.
Multi-Bike Family Storage Station
How to Create
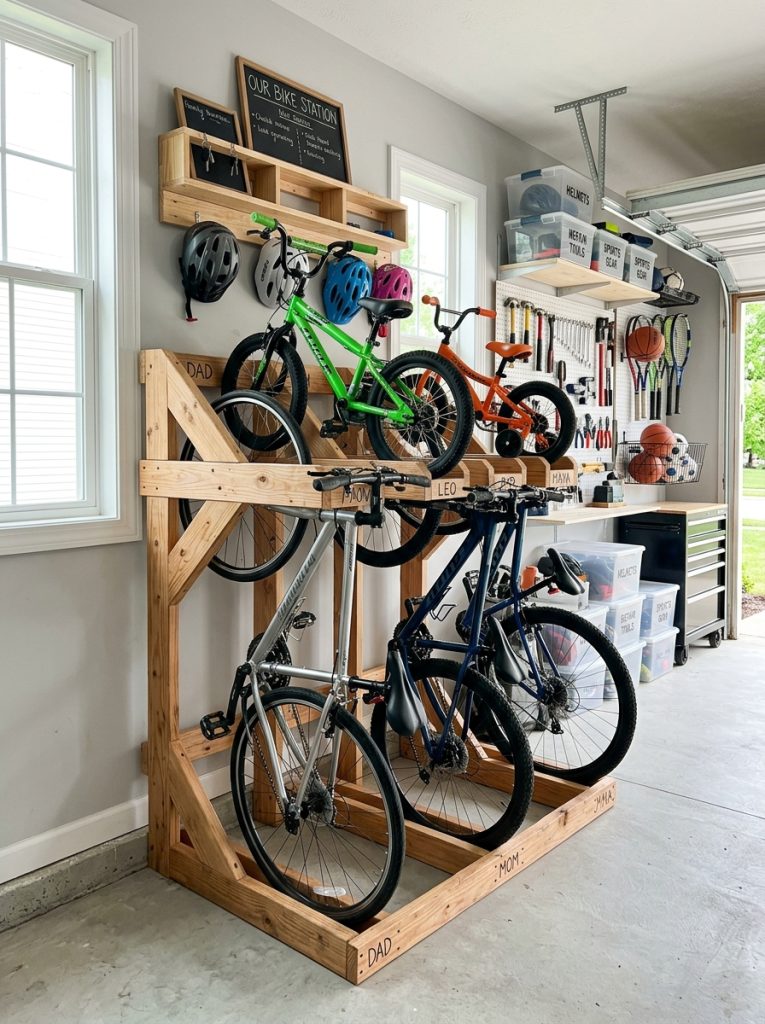
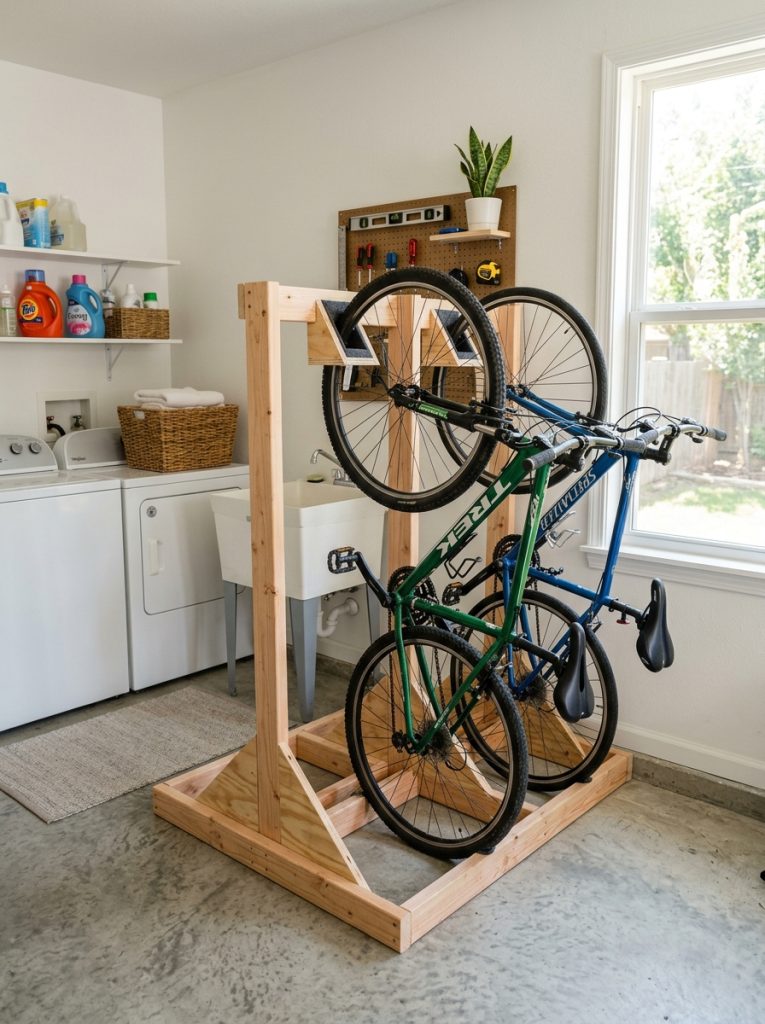
A multi-bike storage station organizes several bicycles within one structured system. Build a wide wooden frame supported by reinforced side panels and multiple wheel slots spaced evenly across the base. Install upper support rails that prevent bicycles from leaning into one another while maintaining simple access for every family member. Include storage shelves for helmets, repair tools, pumps, and cycling accessories to improve organization further. Finish the entire structure with durable paint or weather-resistant stain depending on placement. Label each storage section if multiple riders regularly use the station. This larger DIY project simplifies bicycle management while reducing clutter throughout garages or sheds. The combination of storage, planning, and organized layout makes it one of the most practical creative ideas for active households.
Common Beginner Mistakes and How to Avoid Them
Many first-time builders overlook accurate measurements, resulting in bicycle racks that do not fit wheel sizes or available storage areas correctly. Another common mistake involves using lightweight materials that cannot safely support bicycle weight over time. Poor planning often leads to inadequate spacing between bicycles, causing handlebars and pedals to collide during storage. Beginners should also avoid skipping sanding, sealing, or protective finishes, particularly for outdoor projects where weather exposure shortens material life. Installing wall-mounted racks without locating structural studs creates unnecessary safety risks. Reviewing measurements twice, selecting appropriate materials, following each tutorial step by step, and testing stability before regular use significantly improves the final result. Careful preparation reduces costly corrections while producing a durable, organized, and attractive handmade bicycle rack.
Practical Tips for Better Results
Take time to measure every bicycle individually before cutting materials because tire widths and frame dimensions often vary. Choose durable fasteners designed for structural projects rather than decorative hardware. Keep all wooden edges smooth to protect bicycle finishes and reduce splinters. Apply protective coatings whenever racks will remain outdoors throughout the year. Organize tools and materials before beginning construction to improve workflow and reduce interruptions. Test the rack gradually by adding weight before placing valuable bicycles into permanent storage. Leave sufficient clearance around handlebars for comfortable access. Incorporating shelves, baskets, or hooks alongside the bicycle rack improves overall organization while storing helmets and accessories together. Consistent planning, accurate assembly, and regular maintenance ensure long-lasting performance and a professional-looking finished project.
Styling, Presentation, and Organization Ideas
A bicycle rack can become part of the room’s overall aesthetic instead of serving only as storage. Match wood finishes with existing furniture or use neutral paint colors that complement modern design. Add simple shelving above wall-mounted racks for decorative storage boxes, small plants, or framed artwork. Incorporate labeled baskets to organize repair supplies, cycling gloves, helmets, and water bottles. Use clean lines and balanced spacing to achieve a minimalist style that feels uncluttered. Outdoor racks benefit from coordinated landscaping, gravel pathways, or wooden borders that improve visual appeal. Consistent color choices and thoughtful planning create a cohesive appearance that blends functionality with decoration. Pinterest inspiration often highlights organized spaces where storage solutions contribute positively to both appearance and everyday convenience.
Budget and Time Planning
Planning a realistic budget before purchasing materials helps avoid unnecessary expenses and incomplete projects. Basic PVC and pallet wood designs usually require the lowest investment, while larger wooden or covered outdoor racks involve additional materials and construction time. Preparing a detailed materials list minimizes waste and improves purchasing efficiency. Simple bicycle racks may be completed within a few hours, whereas larger family storage stations often require a full weekend. Allow extra time for sanding, painting, staining, and protective finishes to dry properly before use. Purchasing only essential hardware while reusing available lumber reduces overall project cost. Careful planning, organized preparation, and efficient scheduling allow beginners to complete attractive DIY bicycle racks without exceeding available time or budget.
Creative Expansion and Advanced Inspiration
Once basic bicycle storage has been mastered, many creative ideas can expand the project into a multifunctional organization system. Combine bicycle racks with built-in benches, storage cabinets, repair stations, or wall-mounted pegboards for tools and maintenance equipment. Integrate lighting beneath shelves to improve visibility in garages and workshops while adding visual interest. Decorative wood patterns, geometric designs, and mixed-material construction introduce a personalized aesthetic without sacrificing functionality. Outdoor projects can include integrated planters, weather covers, or lockable storage compartments for added convenience. Modular sections also allow future expansion as storage needs increase. These advanced projects encourage thoughtful planning while maintaining the practical benefits of organized bicycle storage, making the finished structure an attractive and highly functional feature within the home or outdoor environment.





Post Comment